How to Declutter Like A Pro
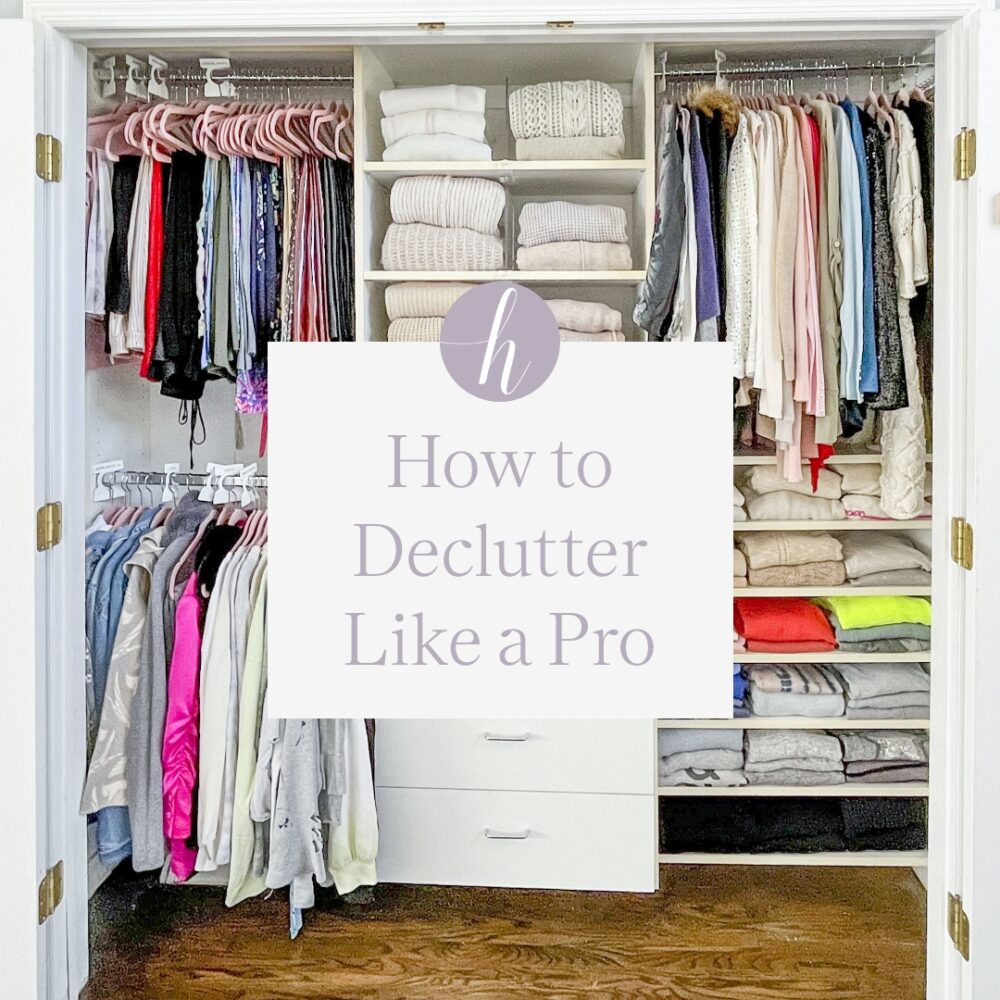
Decluttering is one of the first (and most important) steps in Horderly’s organizing process.
If you’re looking to get organized this summer, here are some helpful Horderly tips to declutter like a pro:
What You’ll Need
We recommend beginning the decluttering process with trash bags, sticky notes, and a sharpie.
Pull Everything Out
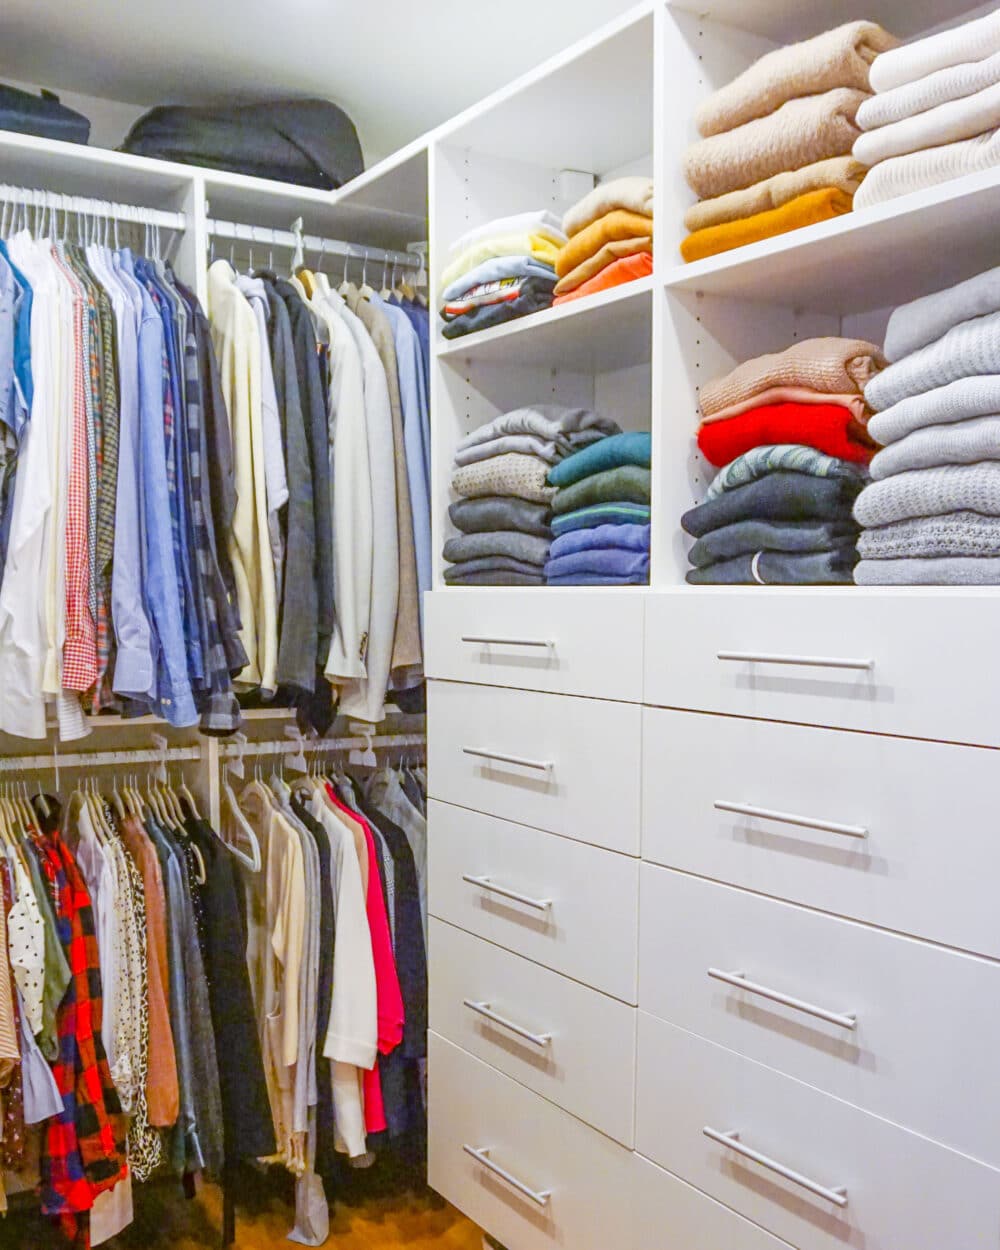
Our motto for this step is: “it gets worse before it gets better.” While pulling everything out may sound daunting, it is absolutely the most important part of the decluttering process!
By pulling everything out, you will be able to see what you have so that you know exactly how much of each item you need and where that category will make the most sense in your space.
Start by taking everything out of the space you are organizing. If you are working on a closet, start with placing all clothing into neat piles, keeping “likes with likes.”
For example, sort all of your blouses together in a pile, dresses together in a pile, dress pants, jeans, pajamas, underwear, socks and so on until all of your clothing is pulled out and sorted.
Next move on to any accessories and other categories that belong in this space.
As you sort these piles, label them with your stickie notes and sharpie. This will help you feel in control of the space as piles grow, and help with creating an implementation map when putting your space back together!
If you come across categories that belong in other areas of your home, place them in neat piles by the door and label them with their respective future homes using your stickie notes.
One Pile At a Time

Once everything is pulled out, grab your garbage bags or donation bins and dive in!
We like to start in a corner of the room and work our way around touching every item. Work pile-by-pile, and pick up each item one by one to decide whether to keep or donate.
Here are some questions to ask yourself along the way:
- How often am I using this item? If it’s often, keep it!
- When is the last time I used this item? If its been over a year, it may be time to let it go
- Does this item make me feel sad or uncomfortable? If yes, say goodbye!
- Is this item damaged in some way? If yes, will I repair it, or could I replace it?
- Do I have something similar that is better?
- Would someone else benefit more from having this?
Our biggest advice: trust yourself! You know what you need and what you don’t. The fact that you decided to jump into this process shows that you’re ready to make some big moves. By clearing out things that you no longer use or don’t love, you are making space for the items that you do use and love!
Putting the Puzzle Pieces Together
At this point, you should be standing in a room filled with sticky-noted piles of edited items and a bunch of full trash bags ready for donation, or garbage heaven.
Load up the donations or trash in your car and make a point to get rid of the bags within the next few days.
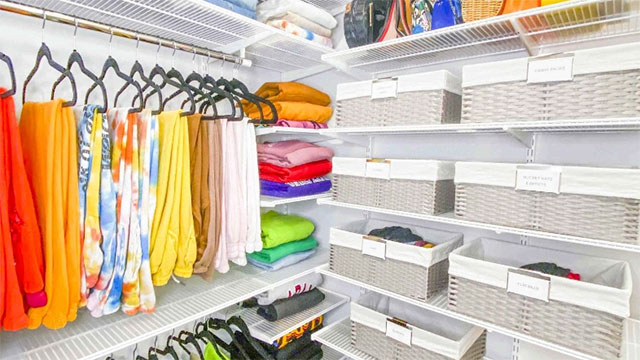
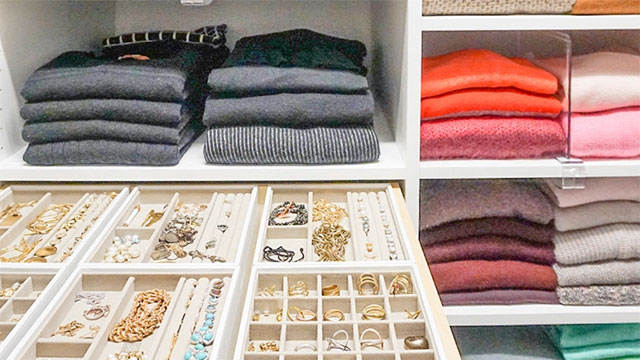
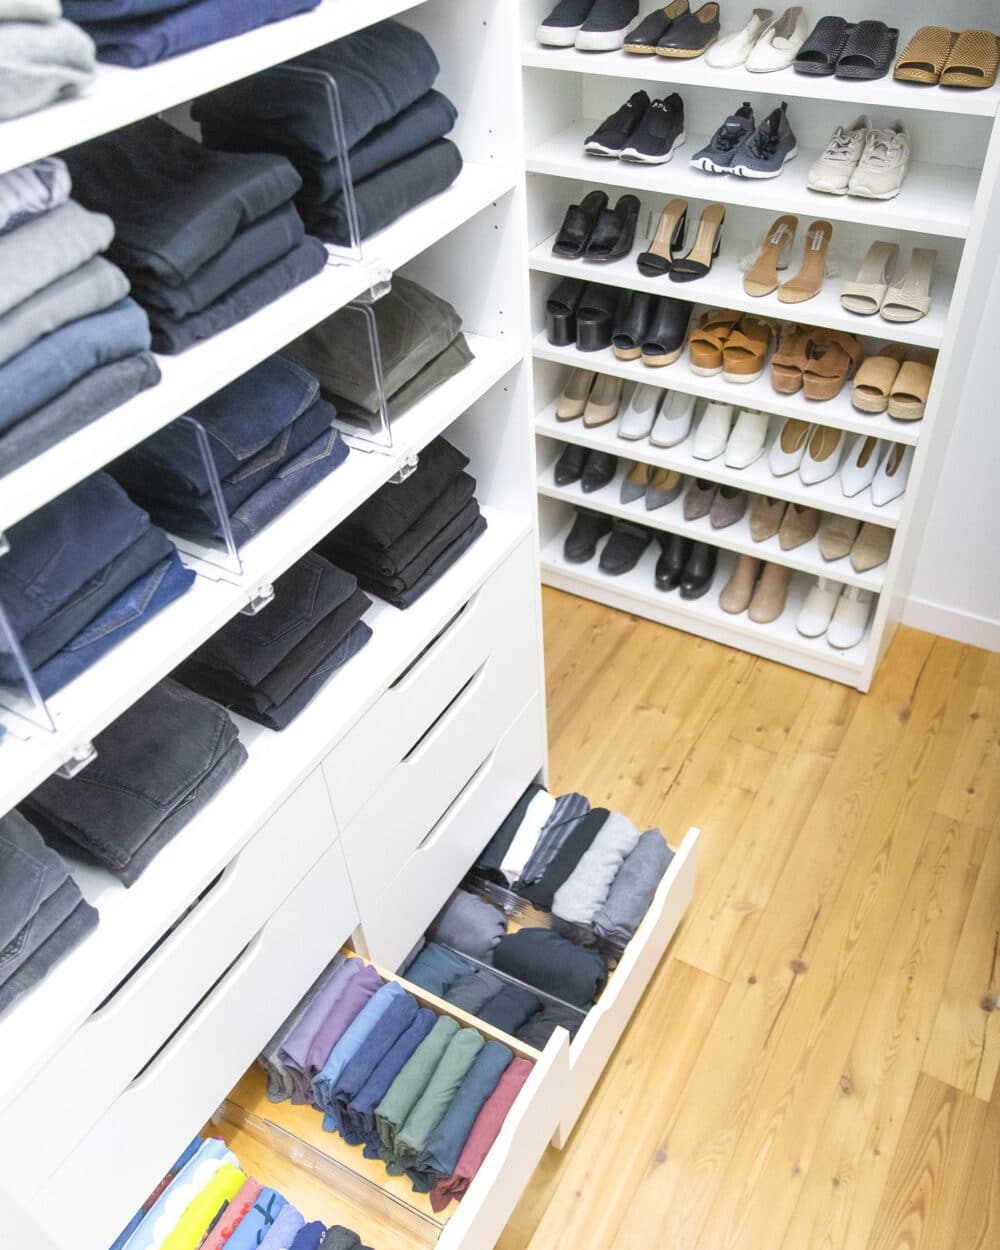
For everything you’re going to keep, decide the best place for each item based on how often you’re using it and consider factors like whether the product can be hung on a hanger or needs to be contained in another way. File-fold anything that belongs in a drawer to maximize drawer space!
Maintain
Now that you’ve successfully refreshed your space, let’s talk about a strategy for maintaining all your hard work. Check out our favorite tips on maintaining your space here!
Bring in the Pros
If you need some extra help but aren’t sure where to start, reach out to Horderly to schedule an in-home or virtual organizing session.
For more information on all things Horderly – including lots of great tips, tricks, and other #HorderlyHabits – check out our blog or reach out for more information!
This content is independently curated by Horderly and may earn us a commission.

