Horderly’s Guide to Categorizing & Labeling

A huge part of Horderly’s 11-Step process is categorizing and labeling. Once you’ve done a full pull-out, sort and edit of your items, the next steps are to categorize, strategize placement and then put items back and implement functional products, if you have products to help.
Once items are in their proper place and products are implemented, it’s important to label all items and locations in your home so that nothing wanders off or winds up out of place again.
Categorizing your belongings and labeling them accordingly is a crucial step in maintaining your new organizational systems.
Categorizing

Categorizing your belongings can sometimes be tricky or get confusing.
What is this? What do I label it? This thing has four different names!
Don’t worry and don’t overthink categorizing! Think about what makes sense for you and your household.
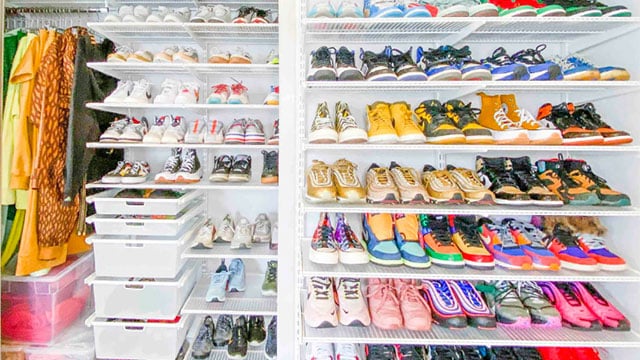
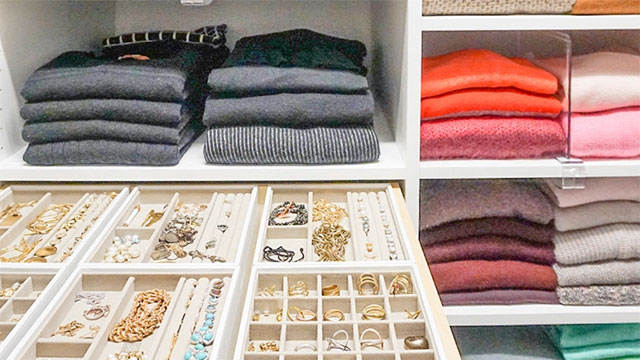
Before categorizing items, sort items into piles of likes with likes and decide “keep, toss, donate” for each item. Then, look at your keep pile and categorize those items for daily use vs used less often. Sorting is the process of putting similar items together while categorizing is the process of determining which items should be easily accessible in your home, and which don’t need to be.
For example, sort all of your appliances into one pile. Decide which ones are kept, then break that pile into two categories: one for often-used appliances, and another for appliances you don’t use as often, or only on holidays. Categorizing by frequency will help you determine prime real estate, and set up a functional space so that all of the items you use regularly are easy to find and use!
Still unsure? Check our list of room-by-room categorizing suggestions below.
Labeling

When labeling categories, ask yourself these questions: Do you call to-go containers something different? Does your kid mispronounce that and now item X has a new household name?
Horderly loves using Brother’s P-touch CUBE Plus Label Maker. Complete with Bluetooth connectivity to an app on your iPhone, creating and printing labels is super easy with the P-touch. Brother’s label tapes are even temperature-resistant, making labeling in your fridge, freezer or even your garage or attic easier than ever!
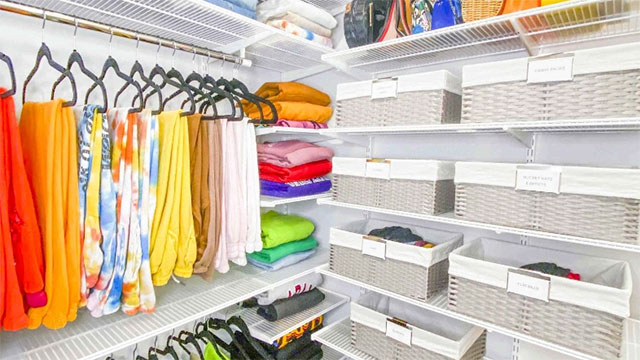
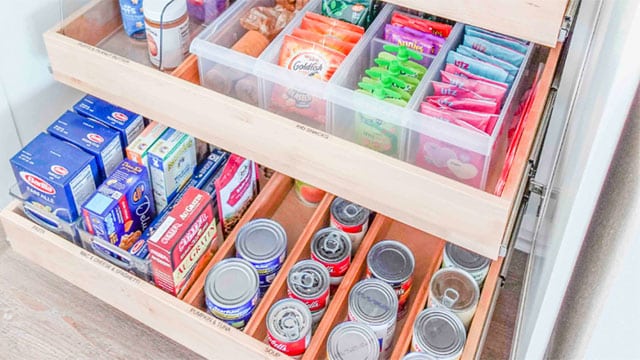
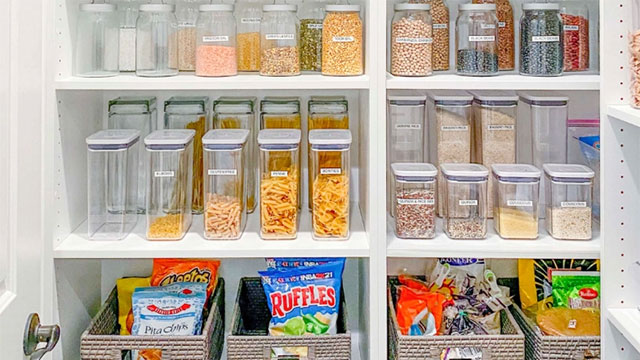
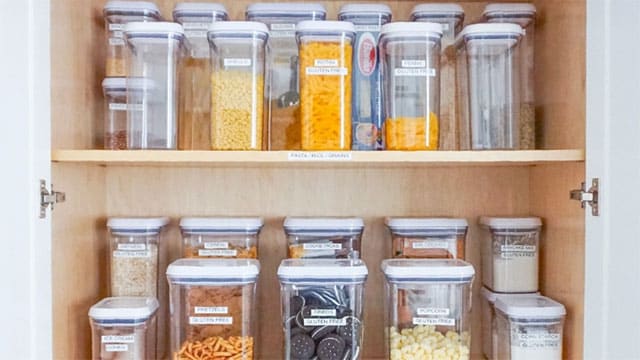
Labels can be placed on bins, shelves, baskets (with the help of Bin Clip Labels) and even the inside of your refrigerator or freezer!
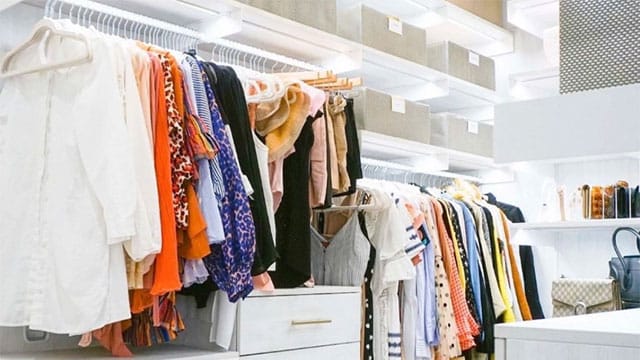
In closets, use Rod dividers to separate clothing items and make “shopping your closet” so much easier! Tip: If you are short on space, abbreviate “long sleeve” with “LS” or “short sleeve” with “SS”. However, we always like to spell words out fully if there is room to do so! If items are stored in Clear Bins (a Horderly-favorite solution) place a label in front of the bin, centered so it’s easy to see and read.
Here are common categories and label examples for every and any room in your home:


For more information on all things Horderly – including lots of great tips, tricks and other #HorderlyHabits – check out our blog or reach out for more information!
This content is independently curated by Horderly and may earn us a commission. Horderly has an existing partnership with Brother.

