


How to Organize Your Digital Photos with Ease

Do you love taking pictures? Us too! Capturing memories has never been easier…but unfortunately, that also means that most of us end up with a photo mess that, at some point, we need to clean up and safely store. Luckily, we’ve got some helpful tips from pro photo organizer Megan O’Hare to help organize your digital photos, back them up, and make your photo library beautiful.
Step 1: Clean Up Your Devices
Before you start organizing, the first step is to set yourself (and your phone) up for success by removing photos you don’t want and backing up everything you want to the cloud. To do that, the first thing you’ll want to do is clean up your camera roll.
You can manually clean up your camera roll, but we recommend using an app. Our go-to app for this is Gemini Photos because it does most of the work for you. Gemini makes it easy to spot duplicates, burst images or blurry images, and things you might not want to store in the Cloud (like screenshots.) This app sorts your photos so you can clean them up quickly without having to scroll through your entire camera roll.
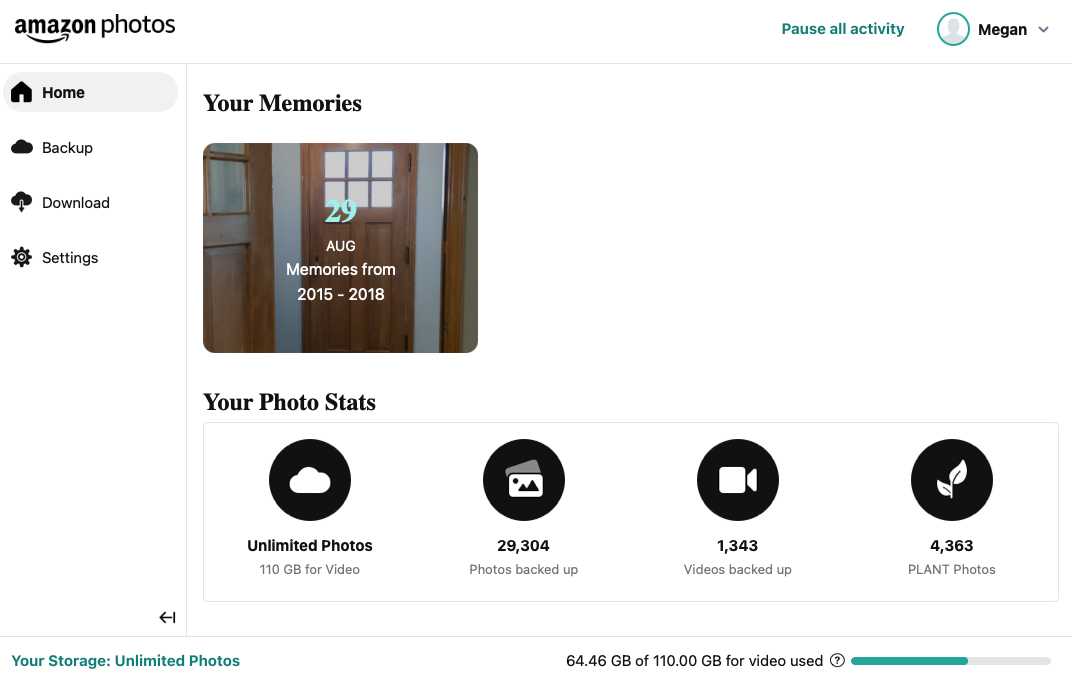
Step 2: Set Up A Cloud Service
Once you’ve cleaned your camera roll, you’re ready to back up your photos to a cloud service. Our favorite is Amazon Photos because photo storage is unlimited with a Prime Membership, but you can use whatever cloud service you prefer. (Google, iCloud, etc.)
Here is a step-by-step guide to setting up Amazon Photos on your phone.
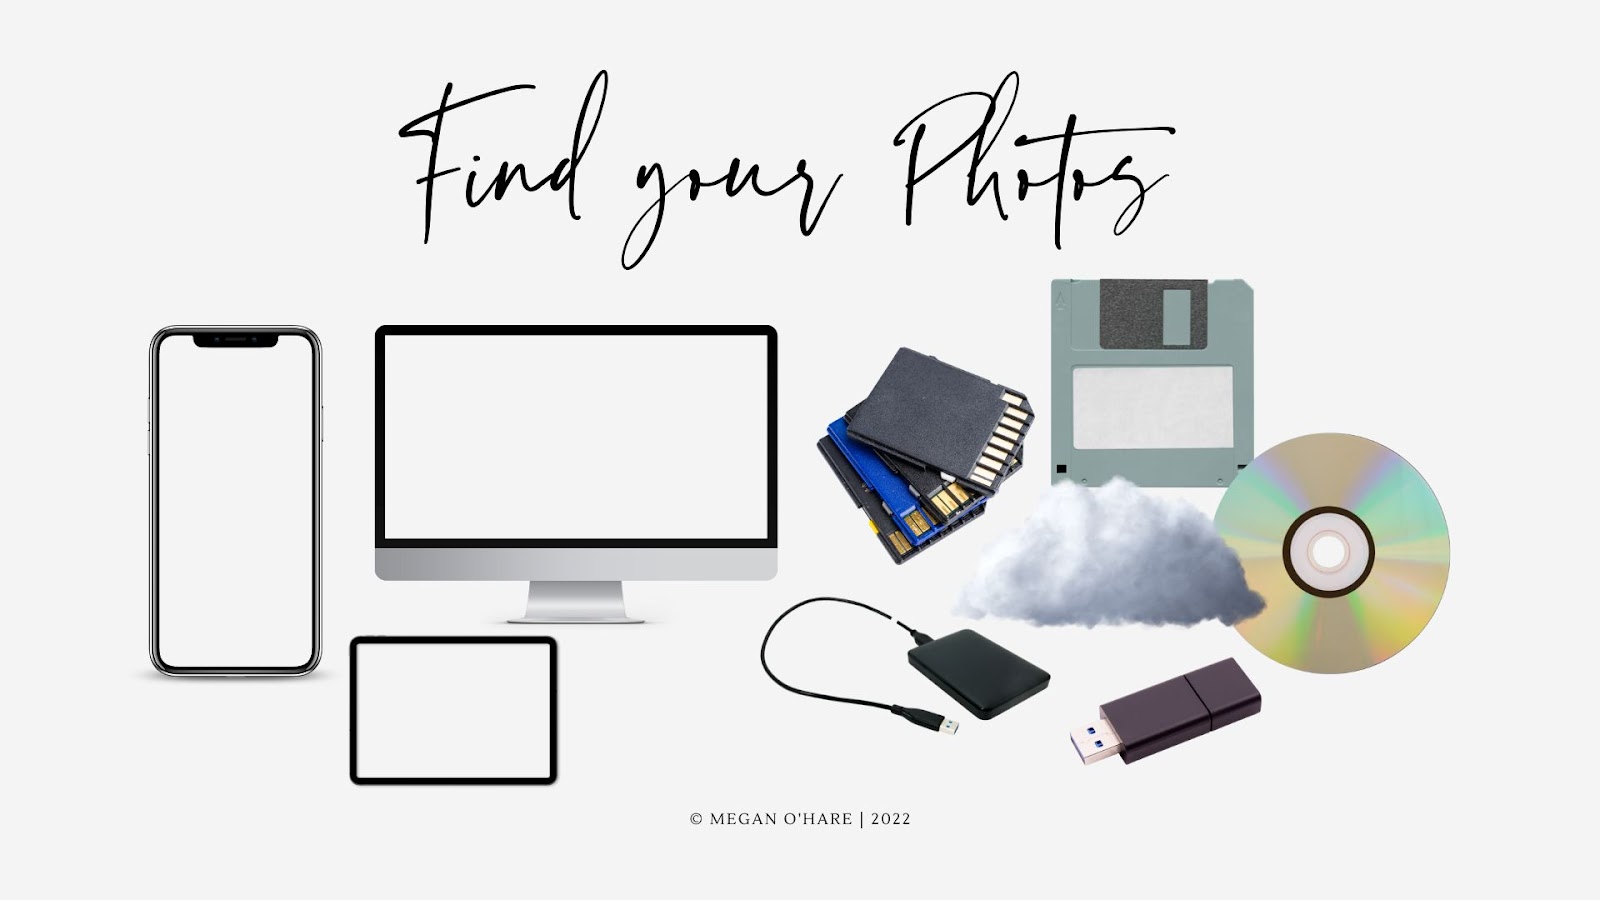
Step 3: Centralize Your Photos
Sync your cloud service to your desktop computer. If you are using Amazon Photos, there is an app you can download to both Mac or PC. It will sync all of your phone photos to your computer. We like to start a folder called “All Photos” and sync to this location.
Next, Locate any photos that are not on your phone. If you have digital photos on CDs, another cloud service, a thumb drive, or old devices, now is the time to move all of your photos to the same “All Photos” folder.
Step 4: Remove Duplicates
All of your photos are in one central location, the “All Photos” folder, so you can use a program like PhotoSweeper (MAC) or Duplicate Cleaner 5 to locate and remove all duplicates. Both of these programs are very reliable, but if you are nervous about deleting photos, We recommend moving duplicates to a separate folder labeled “Duplicates.” Once you are ready, you can delete the folder.
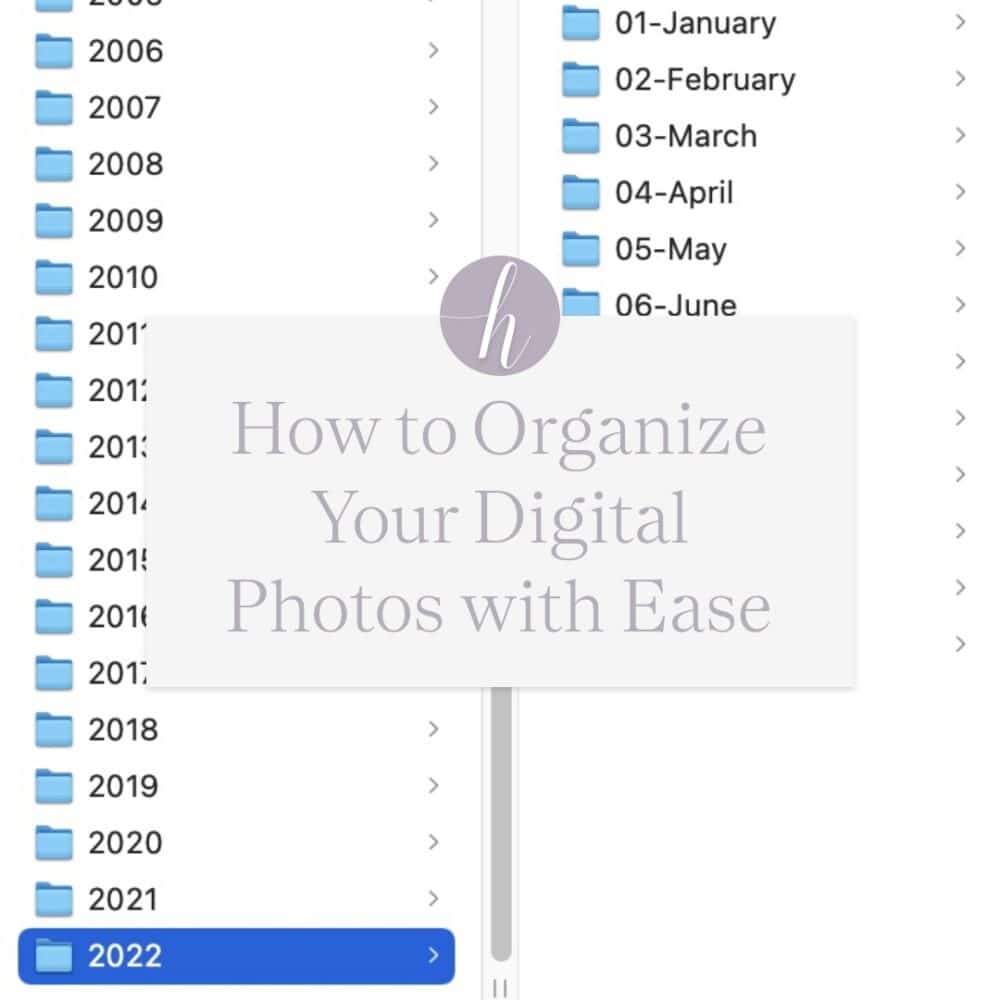
Step 5: Organize Your Library
Now it’s time to get organized! We like to organize photos into year/month folders. To save time, consider purchasing a program like the Big Mean Folder Machine (MAC) or PhotoMove 2.5 (PC) to do the sorting! Both programs will automatically sort your photos by the metadata from each image. They are very accurate but remember that you may still have to hand-sort some digital images if they do not have the correct metadata.

Step 6: Back Up Your Library
The last step in this process is the most important. We have worked with countless clients who have lost images because they relied solely on either a cloud service or a hard drive. Unfortunately, things happen so to ensure we do not lose photos, we should have them saved in at least 2 locations. In this case, you will have them saved on your computer (location 1) and backed up to the cloud (location 2).
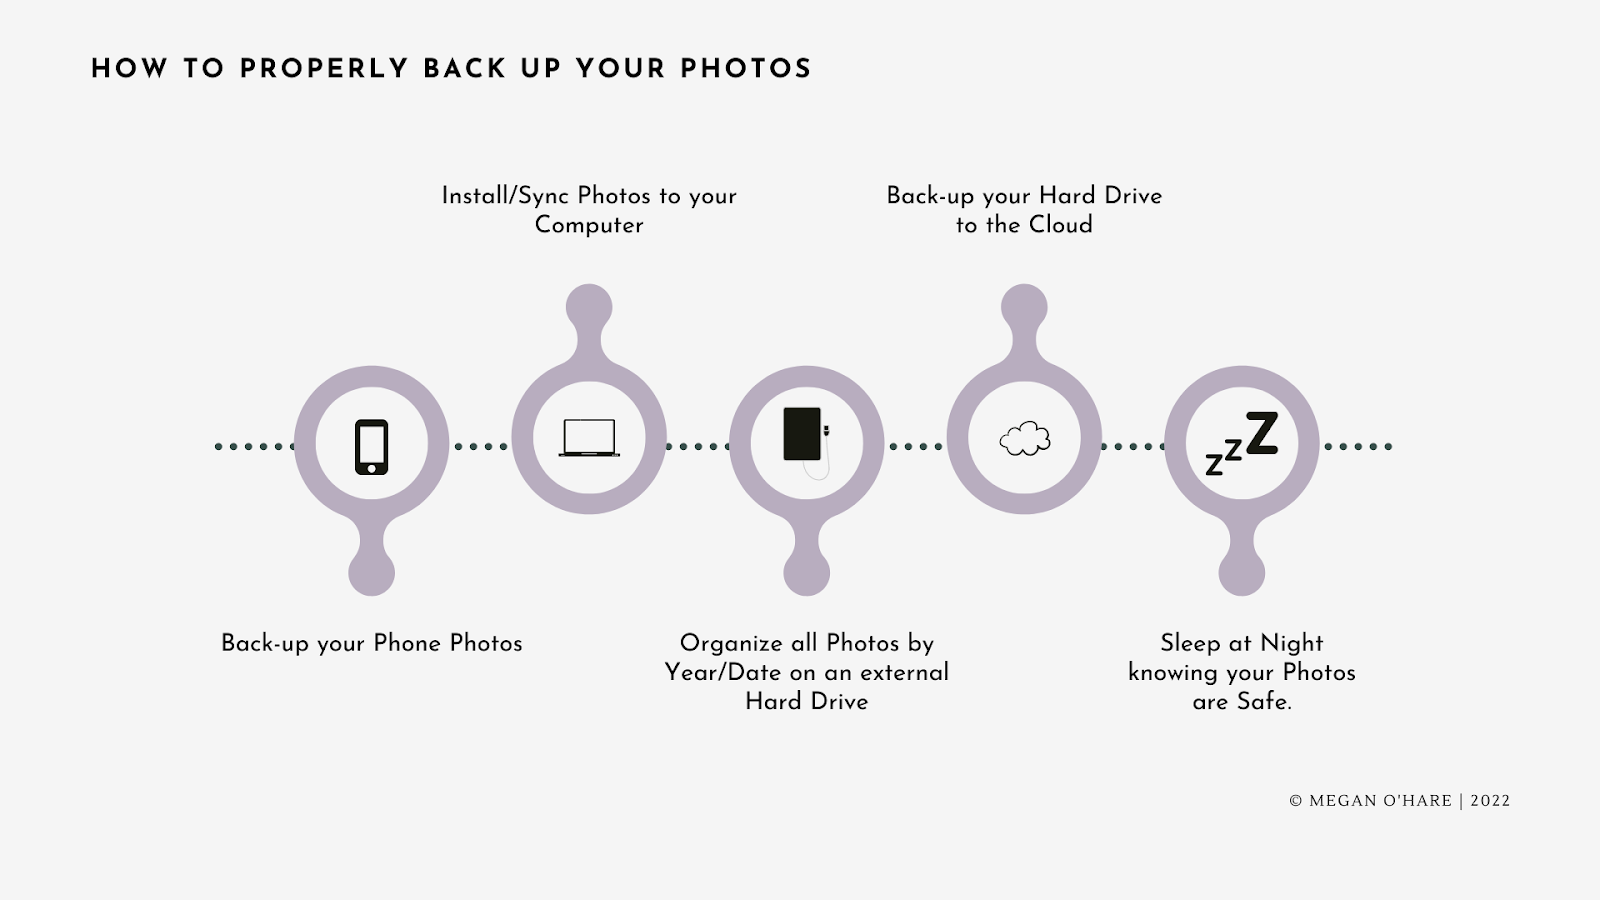
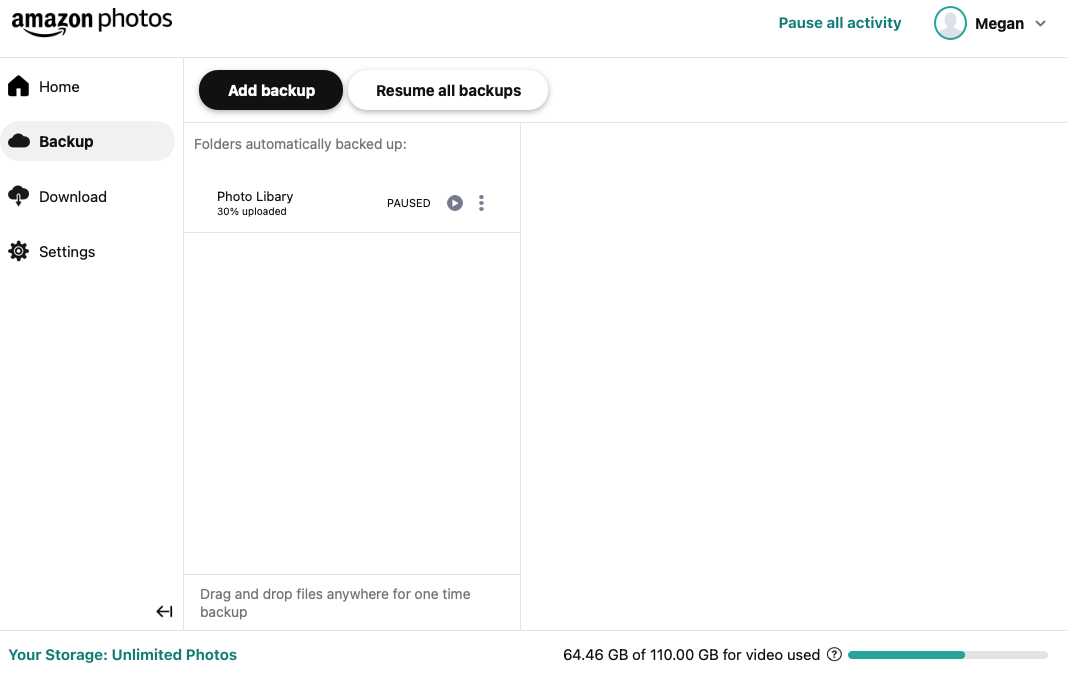
I recommend backing up your Photo Library to Amazon Photos. From your desktop app, select “Backup” and follow the instructions.
Maintain
Now that you’ve successfully set up your backup system and organized your digital photos let’s talk about a strategy for maintaining the results of all your hard work. To do this, we recommend two simple steps:
First, backup your device photos daily. It may sound like a lot, but most take pictures every day. It’s so much easier (and safer) to take a few minutes at the end of each day to back up your photos. You’ll sleep easier at night. If daily sounds unrealistic to you, you can do this weekly.
Second, set aside time every six months to organize your new photos by year and month. Again, doing this twice a year ensures that your photos don’t pile up and that you can organize them accurately without any hassle. And that’s it. Maintaining your newly created digital organization system is as simple as that!
Bring in the Pros
Sometimes getting organized can be overwhelming. That’s where Megan comes in. For more information on all things photo related – including lots of great tips, tricks, and photo organizing courses – check out Megan’s blog or reach out to her for more information! She has a self-paced course that will walk you through the digital organization process step by step. Or you can schedule a virtual digital photo organizing session where she will do the work for you!